How Paint Corrections Can Restore Your Vehicle’s Shine: A Step-by-Step Guide


Understanding Paint Correction
Over time, your vehicle's exterior can lose its shine due to environmental factors, improper washing techniques, and general wear and tear. Paint correction is a professional process designed to restore your vehicle’s original luster by eliminating surface imperfections.
This procedure involves removing swirl marks, scratches, oxidation, and other blemishes from the paint surface. By doing so, it not only enhances the aesthetic appeal of your car but also extends the life of the paintwork.
Assessing the Condition of Your Vehicle
Before diving into paint correction, it's crucial to assess the current state of your vehicle's paint. Look for common issues such as water spots, etching, and minor scratches. Identifying these imperfections will help you determine the level of correction required.
It's beneficial to consult with a professional detailer who can provide an expert assessment. They can help you understand the extent of correction needed and recommend the best approach tailored to your vehicle’s specific needs.
Step-by-Step Paint Correction Process
Step 1: Thorough Washing
Begin by giving your vehicle a comprehensive wash to remove any dirt, grime, or contaminants. This step is essential to ensure that no debris is present during the correction process, which could cause further scratches.
Step 2: Clay Bar Treatment
After washing, use a clay bar to eliminate embedded contaminants. This treatment helps in preparing the surface for polishing by removing stubborn particles that washing alone can’t handle.
Lubricate the surface with a clay bar lubricant and gently glide the clay over the paint. This process will leave your vehicle feeling smooth and ready for the next steps.
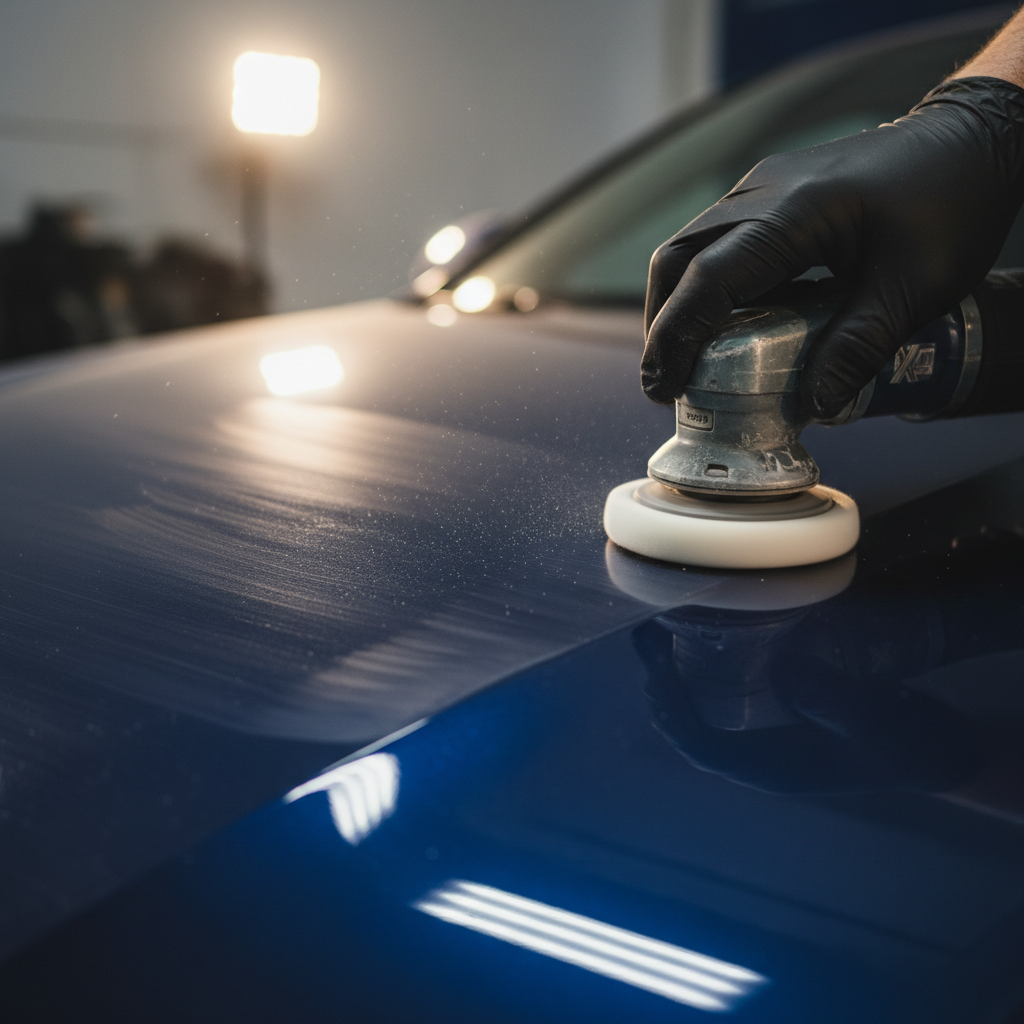
Step 3: Polishing
Polishing is the core of paint correction. Using a dual-action polisher and a cutting compound, work on small sections of the vehicle at a time. This helps in removing the top layer of paint blemishes, revealing a cleaner, more vibrant surface beneath.
It’s important to use the right pad and compound combination for your specific paint condition. This step may need to be repeated several times depending on the severity of the imperfections.
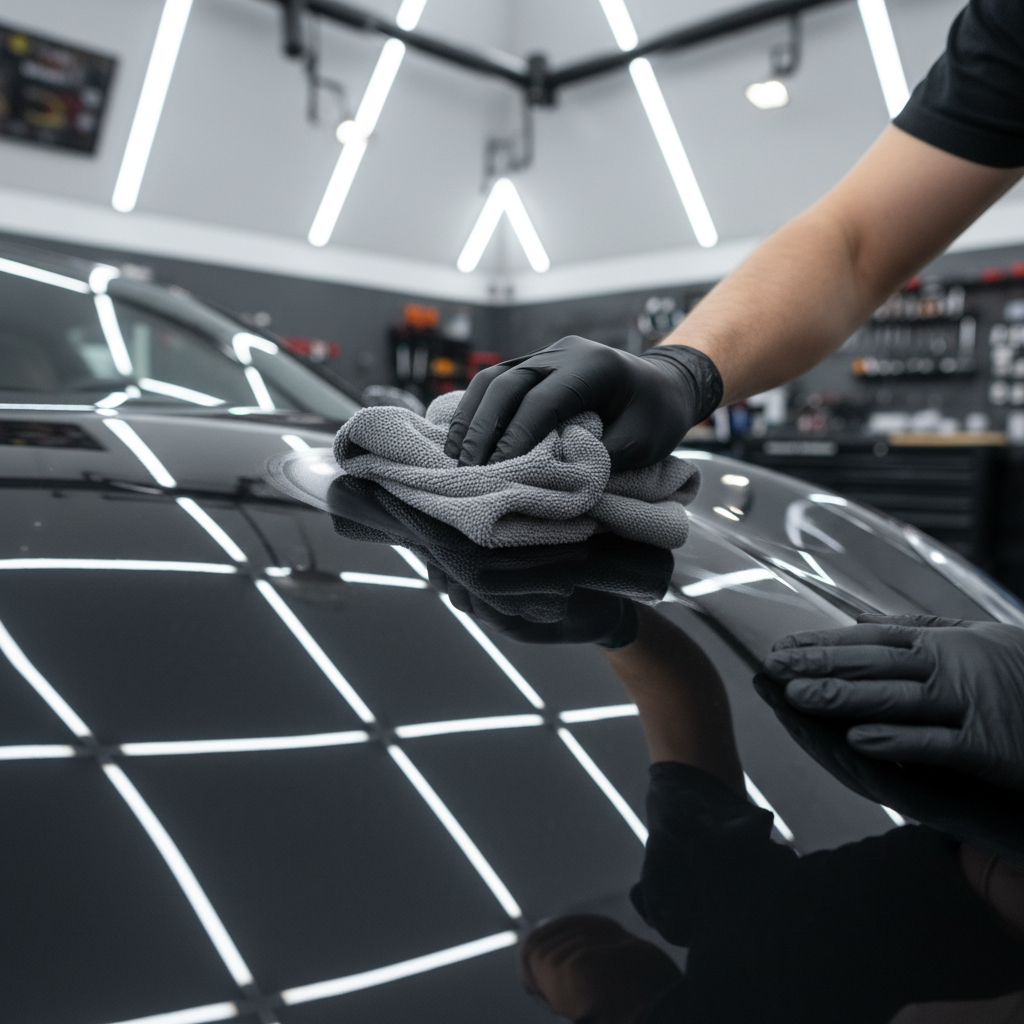
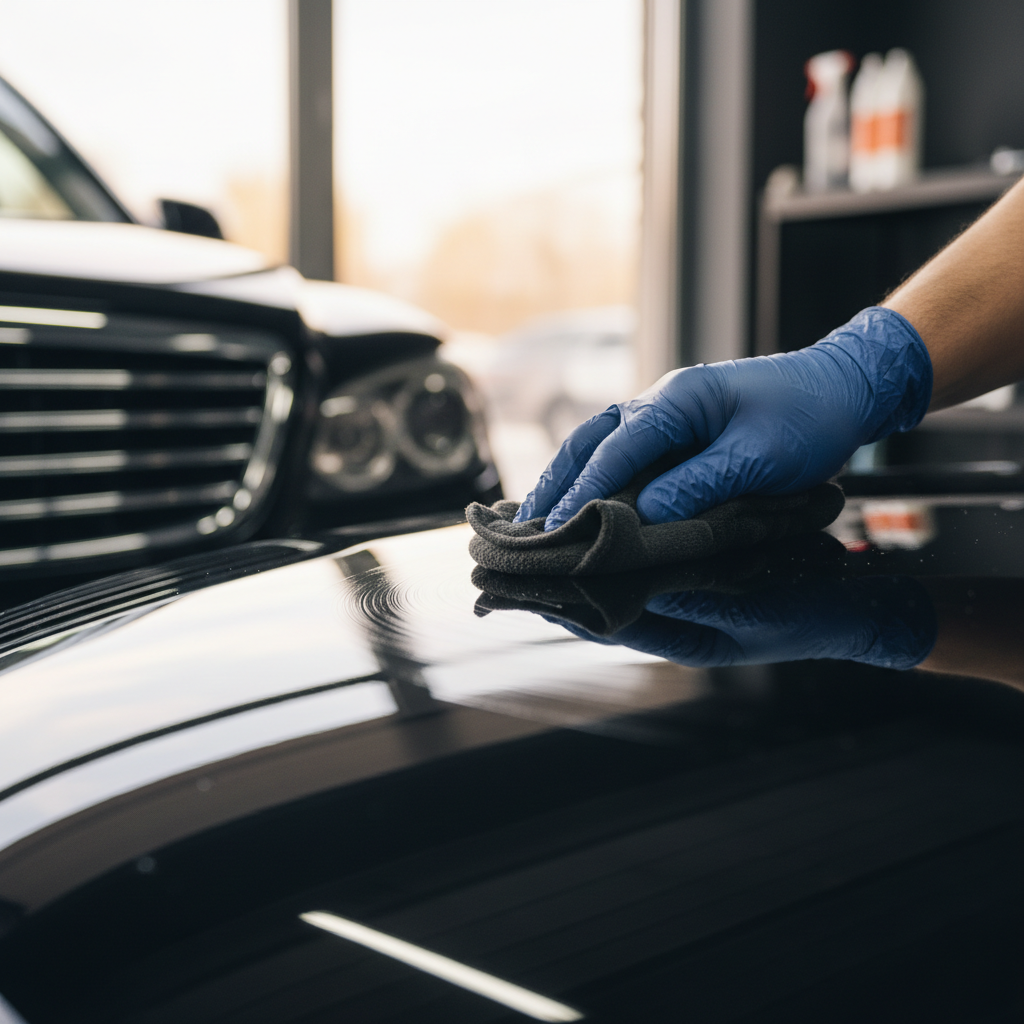
Step 4: Finishing
Once polishing is complete, use a finishing polish to refine the paint surface further, enhancing its clarity and depth. This step ensures any minor remaining imperfections are addressed, and a brilliant shine is achieved.
This stage often involves a softer pad and a finer polish, providing a glossy, showroom-quality finish to your vehicle.
Protecting Your Restored Paint
After the paint correction process, applying a protective coating is essential to maintain the results. Options include wax, sealant, or ceramic coating. Each offers varying degrees of protection and longevity.
Regular maintenance and proper washing techniques will help preserve the restored shine, ensuring your vehicle looks its best for years to come.
Conclusion
Paint correction is a meticulous process that can dramatically transform the appearance of your vehicle. By following these steps, you can tackle surface imperfections and restore the original beauty of your car. Whether you choose to DIY or seek professional help, understanding the process is key to achieving optimal results.